

Our Tour List:
Luisa- http://www.creativedesignsbyluisa.com/
Sherry - www.patternsbysher.blogspot.com
Sandy- www.scrapbookblessings.blogspot.com
Marti- http://essenceofpaper.blogspot.com/
Jessica- http://jessicascraftshaque.blogspot.com
Alecia- http://freakalecias.blogspot.com
HOW TO BE ELLGIBLE TO WIN THE GRAND PRIZE!!!
Earn one ticket for every new entry you upload to the gallery.
Please specify which Diva inspired you to create your project and
post your entries here: http://divascreativas.ning.com/events/divasscrappin-summer-school
Due date to upload your projects is Thursday June 16!
Divas—don’t forget to comment when you are done!
If any links do not work, please refer back to the Divas homepage, http://divascreativas.ning.com.
I was very excited to be asked to participate in my very first ever blog hop. In addition to that honor, I get to be a hop location along with some other very talented Divas whom I have had the pleasure of knowing for a short while now. Creative Scrapbooking Divas is my "go-to" site daily....seriously. I am eager to see what everyone is up to and what the next submissions of creative talent are going to be in all the different challenges and groups.
For this Blog Hop, we were asked to complete a project related to the End of the School Year, Graduation, Summer, etc. We were also asked to do a video or written tutorial for anyone to be able to join in and make creations like ours. I would have loved to make a video. However, I talk to much, my videos never load to blogger correctly, and no one is here to hold the camera (LOL). So instead I will be sharing step-by-step picture tutorials. If at any point, I lose you along the way in my directions, please feel free to message me your questions and I will be happy to answer.
So for the banner, my nephew, who will be having a graduation party on June 12th (tomorrow--eeek) asked me to make him a banner for his celebration. Of course I will. His school colors are Royal Blue and White and he asked that his banner be Stars.
So in keeping with the theme that he has requested:
Step 1:
I started my project with white textured card stock (DCWV, I believe). I got out my Cricut Classic Font cartridge. There are a lot of other cartridges that have stars on them, so don't be discouraged if you don't have the CF cart. I chose to use the star shape on page 75 (The) in the shift-chunky feature. This feature gave me a precut hole at the top of my star which will be used to feed the ribbon through. The number of stars you will cut out will depend on what your banner is going to say. Mine is going to say "Congrats Greggory" so I cut 16 stars and a few extras (just in case). The cut was made at 5".

***In addition, you can use the following chart as a guidelines for settings on your Cricut machine. I have found this to be superb in gaining great results. It's also a savior on your blades and mats!***

 When I am making a banner, I tend to like the idea of supporting the "shape" with an additional backing of card stock cut at the same size. The color of the shadow you choose is up to you, however, do consider whether the back of the banner needs to be as appealing as the front. You will follow step 1 again to cut the backing pieces.
Step 2:
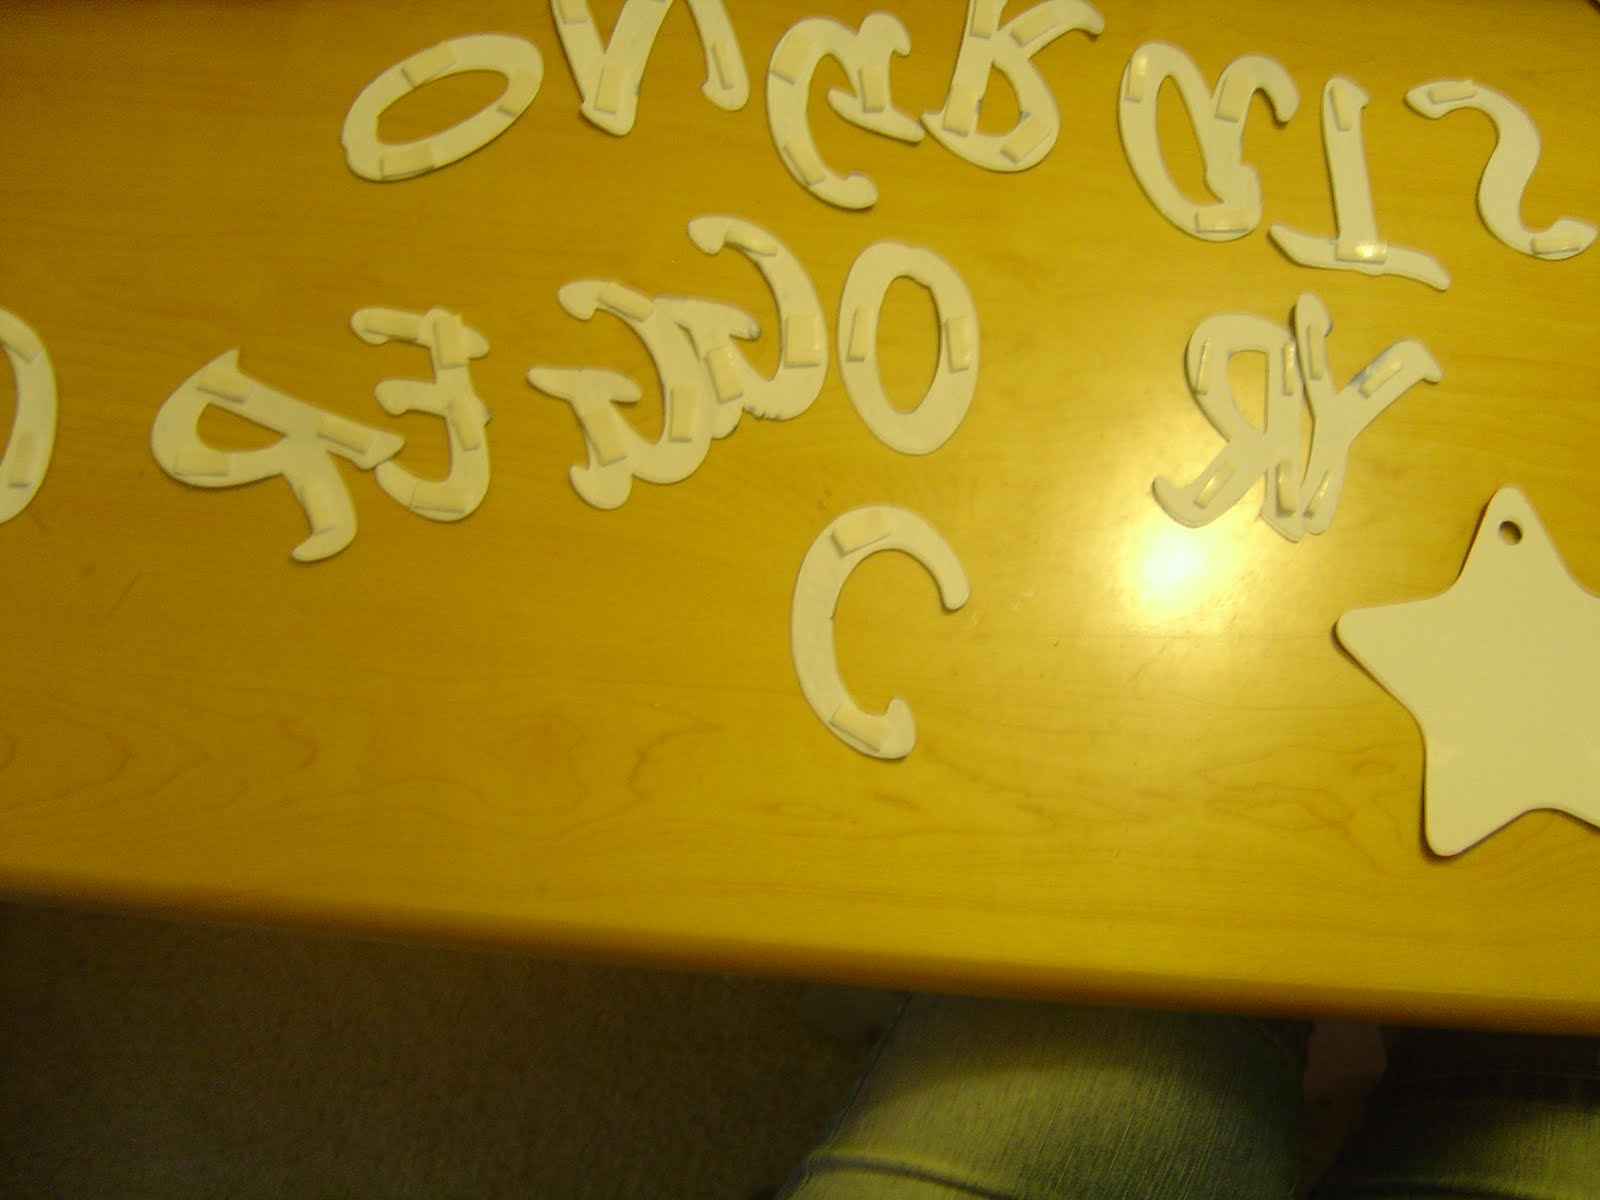
Choose a font that is to your liking. Because my nephew requested his banner be simple, yet charming, I used the Jasmine Cartridge for the lettering. Since the stars are going to remain white, I used the shadow feature on Royal Blue embossed dp (K&Company, Winter textured specialty paper pad) and the top layer (main letter feature) in White cardstock (DCWV Value stack) for added contrast. The letters are cut at 4 3/4" all using the Shift Lock feature. If you don't have a stack of embossed dp, and want to achieve the embossed look, you can also use an embossing machine to get the same effect and run your stars through once they are cut.


 Step 3:
Now that you have your letters cut, it is up to you whether you wish to follow this step or move to Step 4. To add more "pop" to the letters and stars, I decided to do some inking around the edges. I inked all edges with blue and red Studio G ink pads.


 Step 4:
Now it is time to get out your trusty adhesive. First you will adhere the background shadows to the front star. I alternated the backs with white and blue. My go to" is Mod Podge. It covers larger areas more quickly. Once applied with a foam brush, quickly adhere the two shapes together. I laid all my pieces onto wax paper to eliminate a mess and less problems with the glue sticking to my table. Once they were adhered together, I placed another piece of wax paper over the star, then used a rolling pin to flatten out the pieces. This will also help eliminate any air bubbles that would cause wrinkles in the finished product.


Step 5:
Now that the stars are finished, move on to the letters. Instead of Mod Podge this time, I used my Scotch Adhesive with the narrow tip applicator. Again, I rolled the adhered letters between two pieces of wax paper.


 Step 6:
To apply the letters to the stars, you can choose which adhesive you will use. For this project I used my sticky two sided foam to bring the letters out and add dimension.


 Step 7:
Before the stars will be strung with ribbon, I chose to ink the edges with more royal blue Studio G ink pad. The stars were just too white for my liking. I used my inksenstional tool with velcro to attach alcohol cotton refills to do this.


Step 8:
Now it is time to string the ribbon through each star. This is the part of the tutorial that will show you how to problem solve when your original plan doesn't work quite out the way you thought it would. :O) LOL Originally, I had thought I was going to use a 3/4" foil ribbon (blue) and string it through the top holes on the star. Once I started, however, I realized the stars kept turning sideways and would not hang straight. Back to the drawing board. I chose a sheer blue wireless ribbon instead. But, I used my hole punch to make holes on both sides of the star rather than using the top hole. I fed the ribbon through the holes and behind each star.


 Step 9:
Now to cover up my itty bitty little error :O) I chose to cut more smaller stars using the same Classic Font cartridge, just in Italic feature mode this time. I cut about 50 stars at 1 1/2". I again used my ink tool to swirl around the stars before removing the outer frame from my Cricut mat. I then peeled up the outer frame and took all the stars from the mat. I used my crimper to feed each star through to add some "pizazz".

 Step 10:
The stars were affixed to the front and back of the top of each star using a foam 3-D adhesive.


I am also linking this project tutorial to the
*Getting Cricky with K Andrew* Simply Sunday
Passionately Artistic Linking Party
For this Blog Hop, we were asked to complete a project related to the End of the School Year, Graduation, Summer, etc. We were also asked to do a video or written tutorial for anyone to be able to join in and make creations like ours. I would have loved to make a video. However, I talk to much, my videos never load to blogger correctly, and no one is here to hold the camera (LOL). So instead I will be sharing step-by-step picture tutorials. If at any point, I lose you along the way in my directions, please feel free to message me your questions and I will be happy to answer.
So for the banner, my nephew, who will be having a graduation party on June 12th (tomorrow--eeek) asked me to make him a banner for his celebration. Of course I will. His school colors are Royal Blue and White and he asked that his banner be Stars.
So in keeping with the theme that he has requested:
HERE'S MY TUTORIAL
Step 1:
I started my project with white textured card stock (DCWV, I believe). I got out my Cricut Classic Font cartridge. There are a lot of other cartridges that have stars on them, so don't be discouraged if you don't have the CF cart. I chose to use the star shape on page 75 (The) in the shift-chunky feature. This feature gave me a precut hole at the top of my star which will be used to feed the ribbon through. The number of stars you will cut out will depend on what your banner is going to say. Mine is going to say "Congrats Greggory" so I cut 16 stars and a few extras (just in case). The cut was made at 5".

***In addition, you can use the following chart as a guidelines for settings on your Cricut machine. I have found this to be superb in gaining great results. It's also a savior on your blades and mats!***


Step 2:
Choose a font that is to your liking. Because my nephew requested his banner be simple, yet charming, I used the Jasmine Cartridge for the lettering. Since the stars are going to remain white, I used the shadow feature on Royal Blue embossed dp (K&Company, Winter textured specialty paper pad) and the top layer (main letter feature) in White cardstock (DCWV Value stack) for added contrast. The letters are cut at 4 3/4" all using the Shift Lock feature. If you don't have a stack of embossed dp, and want to achieve the embossed look, you can also use an embossing machine to get the same effect and run your stars through once they are cut.


Now that you have your letters cut, it is up to you whether you wish to follow this step or move to Step 4. To add more "pop" to the letters and stars, I decided to do some inking around the edges. I inked all edges with blue and red Studio G ink pads.


Now it is time to get out your trusty adhesive. First you will adhere the background shadows to the front star. I alternated the backs with white and blue. My go to" is Mod Podge. It covers larger areas more quickly. Once applied with a foam brush, quickly adhere the two shapes together. I laid all my pieces onto wax paper to eliminate a mess and less problems with the glue sticking to my table. Once they were adhered together, I placed another piece of wax paper over the star, then used a rolling pin to flatten out the pieces. This will also help eliminate any air bubbles that would cause wrinkles in the finished product.


Step 5:
Now that the stars are finished, move on to the letters. Instead of Mod Podge this time, I used my Scotch Adhesive with the narrow tip applicator. Again, I rolled the adhered letters between two pieces of wax paper.


To apply the letters to the stars, you can choose which adhesive you will use. For this project I used my sticky two sided foam to bring the letters out and add dimension.


Before the stars will be strung with ribbon, I chose to ink the edges with more royal blue Studio G ink pad. The stars were just too white for my liking. I used my inksenstional tool with velcro to attach alcohol cotton refills to do this.


Step 8:
Now it is time to string the ribbon through each star. This is the part of the tutorial that will show you how to problem solve when your original plan doesn't work quite out the way you thought it would. :O) LOL Originally, I had thought I was going to use a 3/4" foil ribbon (blue) and string it through the top holes on the star. Once I started, however, I realized the stars kept turning sideways and would not hang straight. Back to the drawing board. I chose a sheer blue wireless ribbon instead. But, I used my hole punch to make holes on both sides of the star rather than using the top hole. I fed the ribbon through the holes and behind each star.


Now to cover up my itty bitty little error :O) I chose to cut more smaller stars using the same Classic Font cartridge, just in Italic feature mode this time. I cut about 50 stars at 1 1/2". I again used my ink tool to swirl around the stars before removing the outer frame from my Cricut mat. I then peeled up the outer frame and took all the stars from the mat. I used my crimper to feed each star through to add some "pizazz".


The stars were affixed to the front and back of the top of each star using a foam 3-D adhesive.


* * * * * GRAND FINALE * * * * *

Please take a peek, and then head over to the next blog. Post your entries by June 14, 7 pm eastern, to be entered to win. Thanks for hopping!
I am also linking this project tutorial to the
*Getting Cricky with K Andrew* Simply Sunday
Passionately Artistic Linking Party
Thanks for stopping by
and
Happy Crafting!
Smilez,
Jessica


Fabulous tutorial Jessica. I will be making one of these this week now too. I'm gonna be busy. lol
ReplyDeleteSmiles Sher
ShersL84bed@aol.com
Lovely project and detailed tutorial. I am glad you put in pictures instead of a video. I don't like watching you tube video tutorials and I am sure there are many like me!
ReplyDeleteJessica, this is an awesome tutorial. My daughter is graduation this oth from High School and am getting great ideas from this blog hop! Luisa
ReplyDeleteYou did a great job on this tutorial. Your banner turned out really cute. Thanks for sharing your idea with all of us. I have the cut chart with by cricut, it diffidently comes in handy.
ReplyDeleteHi Jessica,
ReplyDeleteI love your pennant--what a great idea and you did a great tutorial!
Thanks for playing along in my Simply Sunday Challenge!
Big Cricky Hugs,
K Andrew of Getting Cricky!
www.gettingcricky.com
Thanks for sharing a tutorial with this! You did an awesome job. Keep going on the blog, you are doing greatttttttttttttttt ;)
ReplyDeleteTFS with us at Getting Cricky!
Rebecca
Getting Cricky DTM
http://craftingmisfit.blogspot.com/
Cute banner! Soo much work and detail into it.. Came out great!!
ReplyDeleteThanks for playing along with us @ Getting Cricky's Simply Sunday Challenge.
Kathy
Getting Cricky DTM
www.scrappingfelkatz.blogspot.com
Awesome tutorial, and cute banner!TFS and joining us at Getting Cricky this week too!
ReplyDelete~Hugs~
Becky - Getting Cricky Design Team member
www.squirlygirlcreations.blogspot.com
Awesome Banner Jessica, you put a lot of work into it and it turned out awesome! Great tutortial, I hope I can try it this weekend.
ReplyDeleteBecka
Getting Cricky DTM
Great banner, Jessica!! When I looked at your tutorial the other day, I didn't even notice that you had to cover up the first hole punch!! I'm glad I got to stop back by for a second look!! :)
ReplyDeleteThanks so much for sharing your talent at Getting Cricky with K Andrew this week!! :)
Amy :) at www.lovetocrop.com
Getting Cricky DTM