Showing posts with label Theme Day Thursday. Show all posts

Thursday, October 25

Theme Day Thursday - Religious Cards

Welcome To


Today's Theme
at My Cricut Craft Room
is 
Religious Cards

I struggled a bit after I signed up for this week's
Theme Day Thursday.
I had planned on using some of the
religious script stickers
in my stash,
but I didn't think about 
which Cricut Cartridge I would use.
Oy Vey!!!

So I scoured my collection, which only
took a brief moment...LOL,
and the light bulb
began to shine above my head!
Over The Hill Cricut Cartridge
<insert bright light>     

This cartridge has some fun cuts.
I was particularly drawn
to the Gate Fold card, that 
literally has a Gate Layer.

I cut the base layer (card) using a cloud/sky design card stock.
For the top layer (gate), I used a shimmery silver card stock.
Both were cut at Fit To Page (7 inches)
There were some extra
swirls near the lower valleys of the top edge
of the card.  
I trimmed them to make this look a little less, spooky.
 
To decorate the inside of the card,
I used a vellum Scripture sticker by Creative Imaginations,
a fun Cherub resin I got from a very sweet
friend, Heather Flaherty of I Heart {ippity},
 
When I cut the Belly Band that 
accompanies the card,
I also did Fit To Page (7 inches).
When  scoring it to fit around the card,
the two ends didn't match up on the back.
I guess that is  the reason 
there was a little red 3" marked in the booklet.
(that'll teach me)

I looked at the bright side
and figured this gave me an opportunity
to play with some of my ribbons and fibers
that get neglected sometimes.

I found a fabulous feathery white fiber
in my stash to bring the two ends together.
I used my hole punch
to create small holes to feed the fiber through.

I chose to tie the ends in the front,
 rather than the back like instructed
(Rebel, I know...ha ha ha)

Now, be sure to stop over to 
 My Cricut Craft Room
to see all of the other wonderful
projects created by MCCR 
DT Members
and 
GET INSPIRED! 
      
Remember 
to 
Keep Crafting, 
Because 
♫ CRAFTING ♫
♫ ROCKS ♫ 
\m/-_-\m/ 
:O) 
Jessica

Thursday, September 6

Theme Day Thursday - FALL Foliage

Welcome To


Today's Theme
at My Cricut Craft Room
is
~~~~~Fall Foliage~~~~~

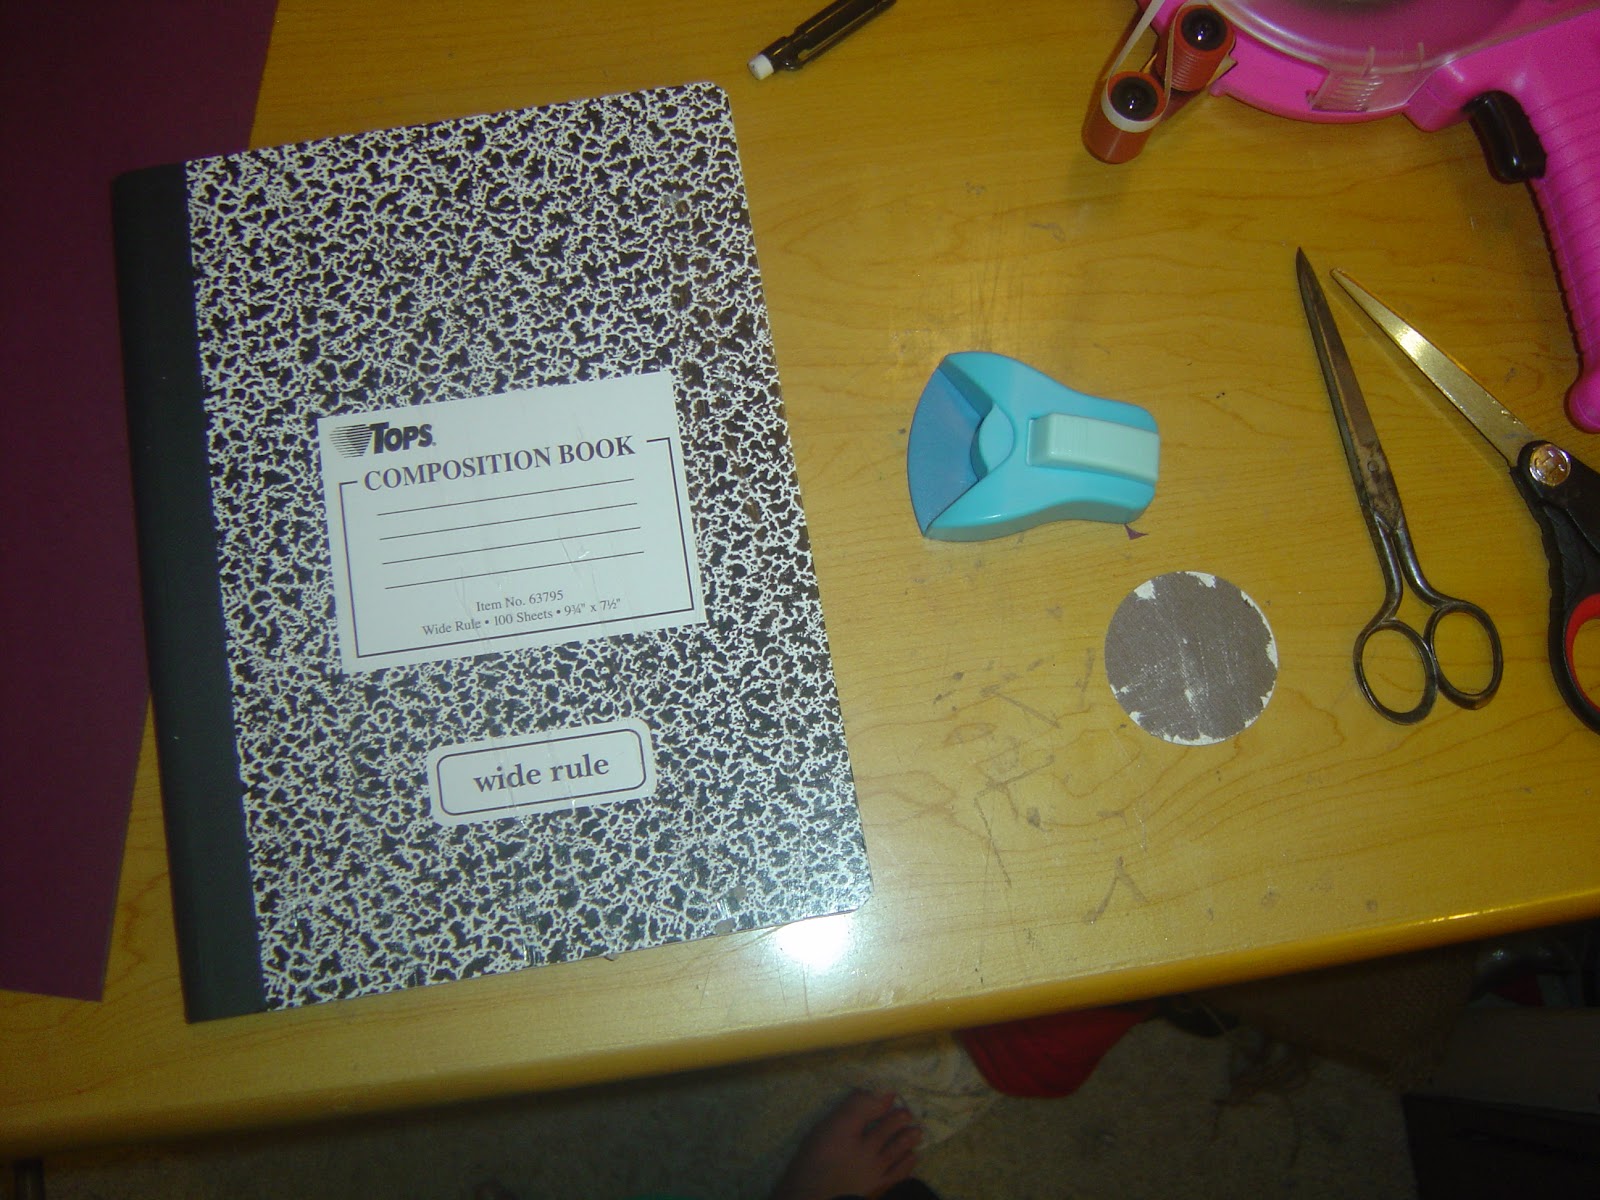
I was lucky enough to find an amazing deal on some
Composition Notebooks last week
at my local Best Buy
10 cents each!!!
Yep, I bought all they had in stock. . . 48 notebooks for $4.80 - SCORE!!!

I was so very eager to start
altering one.
I decided I would use this week's theme
at
My Cricut Craft Room
as my inspiration.
 
 I had an idea for the Title of my Idea Journal
instantly come to mind with the theme
of Fall Foliage, too. . .
sharing that later in the post!


I decided to start by perusing through
ALL of my scrap papers
and choosing out some fun
fall crispy colors to work with
for my Journal.

If you are anything like me, I was able to find
some pre-cut shapes
that were left overs
and some fun pattern papers, too.

I wanted to make a neat flower from a tutorial
that Heather Lynn shared with me last week.
She even gave me some pieces of fabric
to play with as I tried out the technique.
 Thanks Heather!

I took the strip of yellow fabric and adhered
some Frost King double sided adhesive
(this is the roll that comes with window winterizing kits at your
local hardware or DIY store).
I ran my heat gun along the strip before peeling the
paper backing off, for extra "stickiness"
then folded the fabric in half to bring
the two sides together.

 I then cut two strips at a little over 12" long.
(final dimensions 12.5" by 1")

The technique suggests you make small slits about
1/4" to 1/2" apart along the length
of your fabric.
 I prepared a 2" circle for the finished flower to
rest upon and got out some
other supplies I knew I would
be needing for this project.
I wanted to spruce up my fabric
with a little bit of
Olive Green Smooch Spritz first.
I then let that dry, while I began working on
the remainder of my project.

Once you are finished making your slits, and adding smooch if you desire,
 you can then roll the strip inwards to create the flower
and adhere it to you pre-cut circle base.
I placed a large Craft Glu Dot
in the center and pierced it with
the leaf brad you see above.

Before applying the flower, I wanted to create
a "grassy knoll" area on my journal.

The fibers you see here, are a fun
crafty score from Goodwill.
I simply added strips
of the Frost  King adhesive to the bottom portion
of the front of the book.
 I then twirled the fibers into small loops and
pressed down firmly until
the entire area was covered.
I applied my large flower using my glue gun.

I added a bit of the same Smooch Spritz
to some plain white card stock and hung that to dry as well.
The square was about 6 1/4" x 6 1/4" in dimension.
I grabbed a fun frame that I had kept in my scraps, that just happened
to be the same dimension.
The frame was a left over negative space scrap from a
Lacy Labels Cartridge Cut
for a previous project.
This was used as an overlay to my smooched white paper.
I was hoping to have a fun Fall Sky background when I was finished so I could
begin to add my Fall Foliage cuts.

 I used my Serenade Cartridge to cut the fun tree
at 4 1/2" in height.
The leaves were cut from Flower Shoppe Cartridge
at 2 1/2" each.
I sprayed them with some Smooch and inked
the edges with some TH Distress Ink - Vintage Photo.

The alpha stickers are by Webster's Pages and I added some
white jelly pen around each letter for
better  visibility.
 The rhinestone sunburst in the corner was smooched
and sat off to the side to dry
before applying behind the leaf.
I grabbed a bit of other fibers that
I got during the same trip to Goodwill, made a fun
pom pom and adhered this all to the journal
as an attached book marker.
For the inside of my Journal,
I added some yellow card stock and a few Fall stickers 
I  had in my stash.  I thought the fun
label sticker would be a great
place to write in
This Book Belongs To Jessica!

The green piece of card stock peeking out 
was also a left over scrap from a prior Lacy Labels Cricut cut.

I added 2 brown Making Memories eyelets to the 
front cover and back cover of the journal.
I then fed some Cappucino Twinery Twine
through and tied it in a bow.
It is nice to have a closure on your
book if you add elements that make it somewhat bulky
(like my bookmark you see below)

Here is the finished journal.
The title reads
"let the ideas fall"

Thank you so much for stopping by
today.  Be sure to head over to
My Cricut Craft Room
to see all of the other wonderful
projects my DT Sisters
have created.

 
Keep Crafting 
:O) 
Jessica

Wednesday, August 29

Theme Day Thursday

Welcome To


Today's Theme
at My Cricut Craft Room
is 
Chores or our Little helpers

I knew I wanted to create a simple Chore Chart
to help my little ones learn
about Rewards for their Help.

I used the Chore Chart Cricut Lite Cartridge
to complete my project.

 I started by picking out some coordinating papers
from the 
K& Company Hopscotch Stack
and Core'dinations Sunflower Yellow card stock stack

 The blue background layer was cut at Fit to Page
The final cut size was 6 1/2"

 I was able to use my Zig Pens and my Xyron Mega Runner
to adhere the layers and letters together.

I also used a plain piece of  White 12x12 cardstock
as my base to show off the fun primary colors.
The squares down the left side and the diamonds below the chart
were the negative cuts left after the chart
was pulled off of my cutting mat.
I also cut the Toys and Toothbrush from the same 
cartridge, but at a size of 2 1/2"

 The stickers were added from a set
I have had in my stash for several years now.
They are Miss Elizabeth's
Bryce & Madeline - Mother's Helper

The gold stars were placed on the side with
a paper clip to be used to record their progress with helping.

The kids are already enjoying earning their Gold Stars.
They can then go shopping once they have enough
Gold Stars to redeem for a "Reward".

Now,  be sure to head over to  
My Cricut Craft Room
to see the wonderful projects created
by my talented DT Sisters.

Keep Crafting 
:O) 
Jessica

Social Butterfly?

Charity Wings

100% Certified

100% Certified
BAD A$$ Facebook Fan Page

Bill of Rights

Photobucket

Thanks Deb

Recent Visitors