is
~~~~~Fall Foliage~~~~~
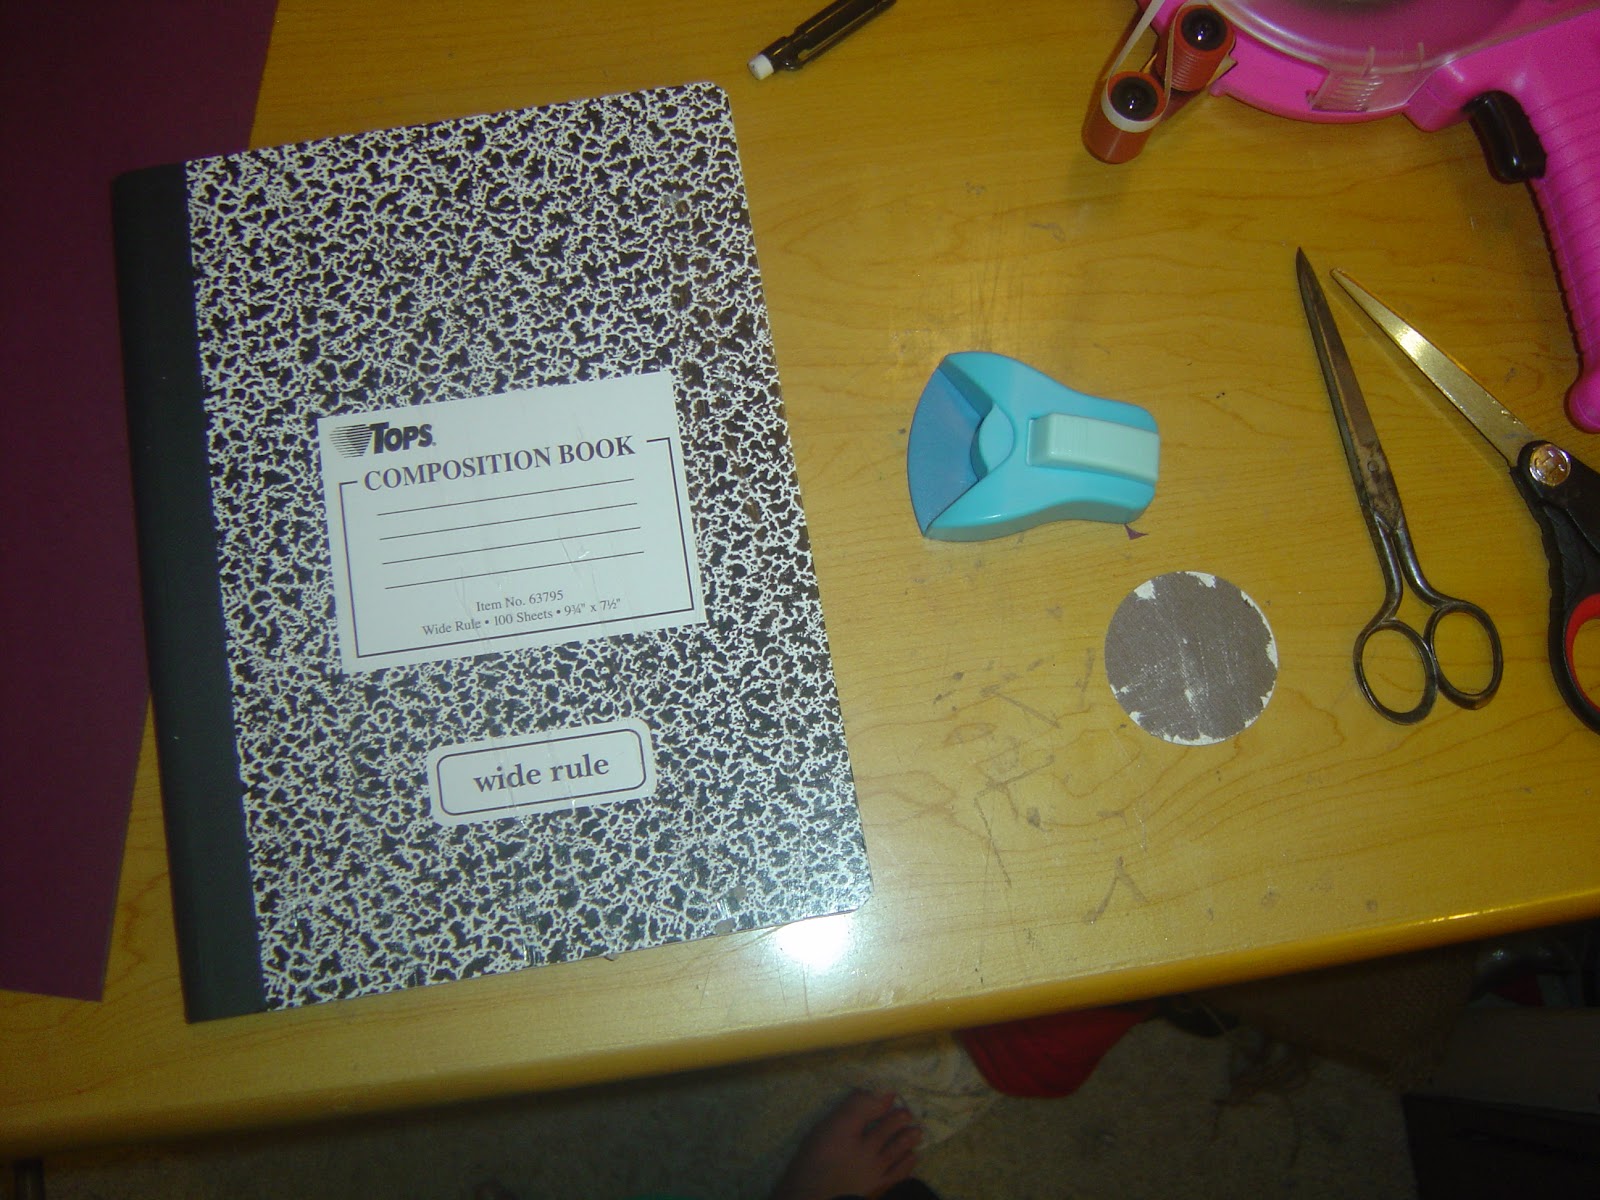
I was lucky enough to find an amazing deal on some
Composition Notebooks last week
at my local Best Buy
10 cents each!!!
Yep, I bought all they had in stock. . . 48 notebooks for $4.80 - SCORE!!!
I was so very eager to start
altering one.
I decided I would use this week's theme
at
My Cricut Craft Room
as my inspiration.
I had an idea for the Title of my Idea Journal
instantly come to mind with the theme
of Fall Foliage, too. . .
sharing that later in the post!
I decided to start by perusing through
ALL of my scrap papers
and choosing out some fun
fall crispy colors to work with
for my Journal.

If you are anything like me, I was able to find
some pre-cut shapes
that were left overs
and some fun pattern papers, too.
I wanted to make a neat flower from a tutorial
that
Heather Lynn shared with me last week.
She even gave me some pieces of fabric
to play with as I tried out the technique.
Thanks Heather!
I took the strip of yellow fabric and adhered
some Frost King double sided adhesive
(this is the roll that comes with window winterizing kits at your
local hardware or DIY store).
I ran my heat gun along the strip before peeling the
paper backing off, for extra "stickiness"
then folded the fabric in half to bring
the two sides together.
I then cut two strips at a little over 12" long.
(final dimensions 12.5" by 1")
The technique suggests you make small slits about
1/4" to 1/2" apart along the length
of your fabric.
I prepared a 2" circle for the finished flower to
rest upon and got out some
other supplies I knew I would
be needing for this project.
I wanted to spruce up my fabric
with a little bit of
Olive Green Smooch Spritz first.
I then let that dry, while I began working on
the remainder of my project.
Once you are finished making your slits, and adding smooch if you desire,
you can then roll the strip inwards to create the flower
and adhere it to you pre-cut circle base.
I placed a large Craft Glu Dot
in the center and pierced it with
the leaf brad you see above.
Before applying the flower, I wanted to create
a "grassy knoll" area on my journal.
The fibers you see here, are a fun
crafty score from Goodwill.
I simply added strips
of the Frost King adhesive to the bottom portion
of the front of the book.
I then twirled the fibers into small loops and
pressed down firmly until
the entire area was covered.
I applied my large flower using my glue gun.
I added a bit of the same Smooch Spritz
to some plain white card stock and hung that to dry as well.
The square was about 6 1/4" x 6 1/4" in dimension.
I grabbed a fun frame that I had kept in my scraps, that just happened
to be the same dimension.
The frame was a left over negative space scrap from a
Lacy Labels Cartridge Cut
for a previous project.
This was used as an overlay to my smooched white paper.
I was hoping to have a fun Fall Sky background when I was finished so I could
begin to add my Fall Foliage cuts.
I used my Serenade Cartridge to cut the fun tree
at 4 1/2" in height.
The leaves were cut from Flower Shoppe Cartridge
at 2 1/2" each.
I sprayed them with some Smooch and inked
the edges with some TH Distress Ink - Vintage Photo.
The alpha stickers are by Webster's Pages and I added some
white jelly pen around each letter for
better visibility.
The rhinestone sunburst in the corner was smooched
and sat off to the side to dry
before applying behind the leaf.
I grabbed a bit of other fibers that
I got during the same trip to Goodwill, made a fun
pom pom and adhered this all to the journal
as an attached book marker.
For the inside of my Journal,
I added some yellow card stock and a few Fall stickers
I had in my stash. I thought the fun
label sticker would be a great
place to write in
This Book Belongs To Jessica!

The green piece of card stock peeking out
was also a left over scrap from a prior Lacy Labels Cricut cut.
I added 2 brown Making Memories eyelets to the
front cover and back cover of the journal.
I then fed some Cappucino Twinery Twine
through and tied it in a bow.
It is nice to have a closure on your
book if you add elements that make it somewhat bulky
(like my bookmark you see below)
Here is the finished journal.
The title reads
"let the ideas fall"
Thank you so much for stopping by
today. Be sure to head over to
My Cricut Craft Room
to see all of the other wonderful
projects my DT Sisters
have created.